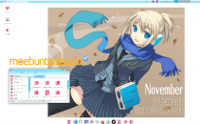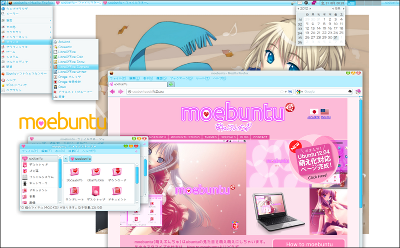

JAPANESE

ENGLISH

The Customization Instructions (For Ubuntu Studio 12.04)
1. Install the Ubuntu's default desktop environment.
* Based on the default Ubuntu desktop, you will make the equivalent of Ubuntu Studio.
Get Ubuntu: https://www.ubuntu.com/
2. Get the moebuntu original desktop theme.
Download the moebuntu original desktop theme: Moe-Blue3
* There are other moebuntu recommended desktop themes. If you are interested, go and see THEMES page.
3. Get the moebuntu original icon theme.
Download the moebuntu original icon theme (MoePinkIcons) from here.
4. Get a moe Desktop Wallpaper for the background.
I highly recommend a wallpaper with a cute girl wearing a headphone for moebuntu studio.
Download it from tags/headphone in Konachan.com,
tag: music in theAnimeGallery.com or
No.541: Gimme a pic of a girl wearing a headphone in 2 no matome R.
5. Build the equivalent of Ubuntu Studio.
Install Synaptic (package manager) from Ubuntu Software Center.
Open Synaptic and type "ubuntustudio" in the Quick filter box.
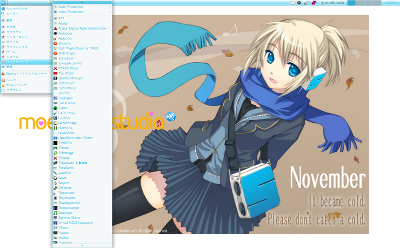
Install anything you think you may need, using the figure below as a reference.

Now you get the equivalent of Ubuntu Studio desktop environment.
* Please note that this operation consumes about 1.5 GB of disk space.
6. Moe-nize login screen (LightDM).
* Oparate in a Ubuntu desktop environment.
How to set up the login screen, go to Phase 2: Moe-nize Your Login Window.
# moebuntu studio logo for LightDM
![]()

* The above sample's wallpaper is from here in Konachan.com.
7. Moe-nize login screen (Plymouth).
* Oparate in a Ubuntu desktop environment.
How to set up the boot screen (Plymouth), go to 3: Moe-nize Your Boot Screen.
# Download moestplymouth.tar.gz

* This archive also contains the wallpaper for 16:9 (and 16:10) aspect ratio (moest_bg_1609.png).
8. Moe-nize your desktop.
Log out first, then login by selecting "Ubutnu Studio Session".
* The "Ubutnu Studio Session" has already been added after installing ubuntustudio-desktop at "5. Build the equivalent of Ubuntu Studio".
* The default Ubuntu Studio desktop environment is the XFCE.
Drop the desktop theme which has been downloaded earlier into /usr/share/themes and the icon theme into /usr/share/icons.
* This operation requires superuser privilege. Open a Terminal and type "$ sudo nautilus" to launch nautilus with root privilege.
Go to "Applications Menu" > "Settings" > "Settings Manager" > "Appearance" and change "Style" and "Icons" to Moe-Blue3 and MoePinkIcons respectively.
And go to "Settings Manager" > "Window Manager" and change the theme to Moe-Blue3.
Next, change the Applications Menu Icon. Download the icon file below, go to "Applications Menu" > "Properties" > "Icon" > "Select icon from" > "Image Files", and choose the downloaded icon.
* Right Click the above Applications Menu Icon and choose "Save Link As..."
9. Moe-nize your wallpaper and font(s).
Go to "Settings Manager" > "Desktop" and change the wallpaper there, and change the font(s) at "Settings Manager" > "Appearance" > "Fonts" and "Settings Manager" > "Window Manager" > "Title font" to some Moe-nized font(s), such as "あくびん(Akubin)" font.
* For detail about Moe-kei fonts, refer to "8. Change your default font(s) to Moe-kei." in Phase 1: Moe-nize Your Desktop.
* The web browser's font also can be moe-nized. For detail, refer to "9. Change the default font in Firefox to Moe-kei font." in Phase 1: Moe-nize Your Desktop.
* Place the moebuntu studio logo on your wallpaper so that your desktop looks more moemoe. For detail, refer to "10. Place the moebuntu logo onto the background." in Phase 1: Moe-nize Your Desktop.

* Right Click the logo and choose "Save Link As..."
* The above samples' wallpaper is from No.541: Gimme a pic of a girl wearing a headphone in 2 no matome R. (It is a little modified.)
10. Moe-nize the Start Up Sound
For information about sound moe-nizing, refer to Phase 4 Moe-nize Your System Sounds.


